*** Proof of Product ***
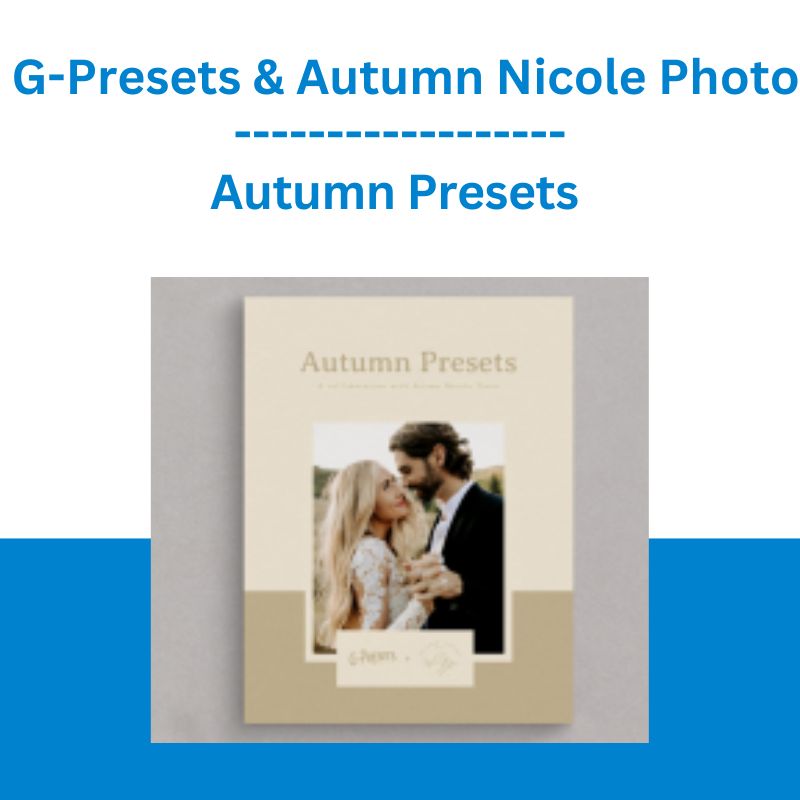
Exploring the Essential Features of “Autumn Presets – G-Presets & Autumn Nicole Photo”
A COLLABORATION WITH AUTUMN NICOLE PHOTO
There’s an idea proposing that when we feel nostalgia, it’s not necessarily the person or place that we yearn for, but the feeling we had in those moments. Using this as a working theory, we set out to make the Autumn Presets a master class in “chasing the feeling”. With a full spectrum enhancement of natural colors and a focus on maintaining soft and warm skin tones, this pack gives images the power to bring the feeling of a moment back into real-time. Versatile enough for anyone to use, Autumn Presets come to life in open outdoor lighting situations like sunrise, sunset, and cloudy settings, yet also look incredible on indoor photos shot in natural light.
Autumn Presets consists of 6 color presets, 1 BW preset, and 4 custom Creative Profile’s (please see * below for compatibility). These Creative Profiles add a small touch of contrast, and vibrance as well as warmth in one of them.
Before and after images below demonstrate how each preset manipulates an image with identical white balance and exposure.
*These presets will work with all versions of Lightroom 4 and above, however, in order to use the custom Creative Profiles you will need one of the following programs: Lightroom Classic CC (version 7.3 or later), Lightroom CC (version 1.3 or later), or Adobe Camera Raw (version 10.3 or later).
**Please note that these presets are created for RAW images only and it is recommended to use them with the custom Creative Profile. For best results, update your editing applications to meet the required specifications.
***These are Desktop Presets(not Mobile Presets).
****All Sales Are Final – No Returns*
What is a Creative Profile?
A Creative Profile is a custom setting that can be individually applied over an already edited image. The coolest part is that because these profiles don’t affect any of the sliders in Lightroom, you can crank their intensity up or down as you please with no consequence to your edit. To achieve Autumn’s clean and vibrant vibe with this particular profile, I used a combination of tone curves, color adjustment layers, and a gradient map. All in, this feature is a remarkably effective tool that takes an image from Wow to Whoa in a hurry.
ANP 1
ANP 1 is a signature base preset offering soft creamy skin tones, deep shadows, and a tonal pop in blues and greens. It’s warm, it’s vibrant, and it’s a whole lot of fun to use.
ANP 2
Summoning big mountain views, warm desert skies, and saturated sunsets, ANP 2 is ideal for giving images a touch of warmth with deep greens, softened highlights, and rich blacks.
ANP 3
Clean and crisp simplicity. ANP 3 is a delightful preset with whiter whites, punchy greens and yellows, and a kiss of contrast.
ANP 4
A slightly cooler and less contrasted version of ANP 1, ANP 4 is an incredibly versatile ‘go-to’ with soft ambient blues, clean highlights, and supple skin tones.
ANP 5
ANP 5 makes serious business of bringing mood to your photos. Slightly desaturated reddish undertones give gorgeous coloring for all skin types while muted greens give an artistic film-like texture.
ANP 6
ANP 6 packs a punch of deep warmth and contrast that adds coziness and color while still maintaining clean highlights. Think red rocks, sandy beaches, and golden fields at dusk.
ANP 7 BW
ANP 7 is an effortless and satisfying black and white pushing both ends of the spectrum with dense blacks, striking highlights, and balanced grain. This timeless preset is definitely one you’ll want to use all of the time.
How to install
*For Lightroom Classic CC (version 7.3 or later), Lightroom CC (version 1.3 or later), or Adobe Camera Raw (version 10.3 or later) or without Creative Profiles Lightroom 4, 5, 6, Lightroom Classic CC 7.2 and below
Lightroom Classic CC version 7.3 or later (xmp files)
1. After you have downloaded your presets DO NOT unzip the file
2. Open Lightroom and go to the Develop Module with an image
3. Click on the + icon in the Preset Panel. Select “Import Presets”
4. Navigate to the downloaded presets zip file
5. Click “Import”
Lightroom CC version 1.3 or later (xmp files)
1. Open Adobe Lightroom CC
2. Select File > Import Profiles and Presets
3. Select the downloaded preset folder and click ‘Import’
4. Open the photo you would like to edit, click the edit toolbar on the right-hand side of Lightroom and then you’ll find the imported preset when you select the ‘Presets’ button
Adobe Camera Raw (version 10.3 or later) for Mac (xmp files)
1. Make sure you’re closed out of your Photoshop application
2. Unzip the zip file that was downloaded
3. On your Desktop Finder click GO
4. Hold down the ⌥ Option key and click Library
5. Click through the following folders Application Support>Adobe>Camera Raw>Settings
6. Locate the Folder titled AUTUMN PRESETS
7. While holding down the ⌥ Option key drag the presets into the Settings folder you located
8. Now Launch Photoshop with a RAW image and your presets will be located in ACR under the Presets icon
Adobe Camera Raw (version 10.3 or later) for Windows (xmp files)
1. Make sure you’re closed out of your Photoshop application
2. Unzip the zip file that was downloaded
3. Go to this file location on your computer C:\Users\[User Name]\AppData\Roaming\Adobe\CameraRaw\Settings
4. Locate the folder titled AUTUMN PRESETS
5. Hit Ctrl+C to copy the folder
6. Go to the Settings folder you located and hit Ctrl+V to paste the folder
7. Now Launch Photoshop with a RAW image and your presets will be located in ACR under the Presets icon
Lightroom 4, 5, 6, CC 2015, or Classic CC 7.2 or below (LRTEMPLATE files) *not compatible w/ creative profiles
1. Locate the folder where the presets downloaded
2. Launch the Adobe Lightroom app that you plan to use
3. Click Lightroom at the top left of your screen
4. Click Preferences
5. Click the Presets tab and click Show Lightroom Presets folder
6. Double click the LIGHTROOM folder and double click the Develop Presets Folder
7. For MAC hold down the ⌥ Option key and drag to copy the Preset folder(s) into your Develop Presets folder
8. For WINDOWS hit Ctrl+C and then go to the Develop Presets folder and hit Ctrl+V to paste the Preset folder(s)
9. You’ll then need to quit Lightroom and re-open Lightroom to activate the presets
Please see the full list of alternative group-buy courses available here: https://lunacourse.com/shop/


 The Daily Traders – Exclusive Trading Mentorship Group
  Crypto Dan - The Crypto Investing Blueprint To Financial Freedom By 2025
  Chris Capre - Advanced Price Action Ongoing Training & Webinars
  Forexmentor - Recurring Forex Patterns
  Greg Loehr - Advanced Option Trading With Broken Wing Butterflies
  Fred Haug - Virtual Wholesaling Simplified
  Roger Sanchez - Music Industry Hustle in a Digital Age
  Dave Landry - Stock Selection Course