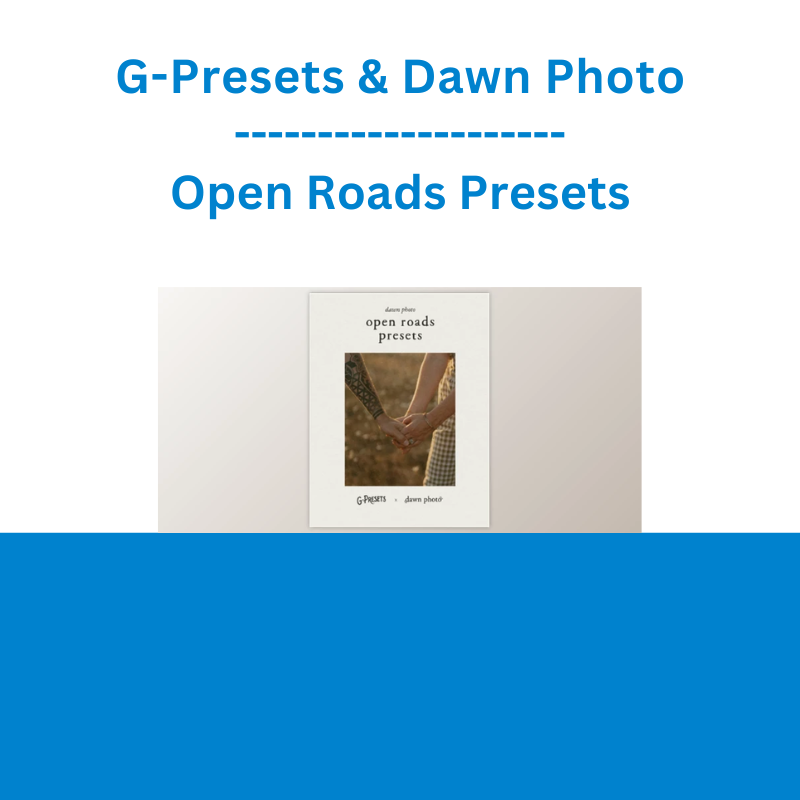
*** Proof of Product ***
Exploring the Essential Features of “G-Presets & Dawn Photo – Open Roads Presets”
A COLLABORATION WITH DAWN PHOTO
Finally, a preset that will not go out of style. A photo is so valuable because it captures a moment that is impossible to reproduce. The Open Roads pack does not take away from those once in a lifetime meaningful moments, but enhances them through an edit that is comparable to a breath of fresh air — soft, slow, and timeless.
As a seasoned photographer and mom of two, I recognize the importance of crafting images that are able to stand the test of time. Greg and I spent hours perfecting the Open Roads Pack so you could be one click away from an edit that pulls out the best colors in your photos with just enough grain and grit for a film-like feel. For photos to turn from a savored moment, to a timeless legacy.
Open Roads Pack consists of 4 color presets, and 1 black and white preset to take your RAW images and add a timeless touch. Each preset has 2 additional variations, + and ++ (totaling in 12 color and 3 BW) . On top of this, there are 2 foliage presets that are meant to be used last while editing. The foliage presets add warmth and depth between your lens and your subject.
My first collaboration pack, the campfire presets, are meant to help you capture the richness of an image while maintaining a nostalgic feel. Open Roads stems from the same nostalgic goal, but this time in a minimalistic way.
*These presets ONLY work with Lightroom Classic CC (version 7.5 or later), Lightroom CC (version 1.3 or later), and Adobe Camera Raw (version 10.5 or later). For earlier versions, you MUST update your editing applications to meet the required specifications.
**Purchase of this preset pack DOES NOT include LRTEMPLATE files.
***Please note that these presets are created for RAW images only and are ONLY Compatible with the software versions above.
****These are Desktop Presets(NOT Mobile Presets).
Open Roads 1
Neutral colors, faded + Soft. For Everyday use, nostalgic vibes. A + version for slightly more contrast. and a ++ version for deeper darks and less faded blacks.
Open Roads 2
Warmer Hues : Preserves sunsets + pops of sun while keeping those nostalgic faded vibes. A + version to add contrast. And a ++ version deepen the darks and less faded in the blacks.
Open Roads 3
Cooler Hues, Faded + Soft. Geared for cool-toned areas, like mountains, with the soft, faded vibes. A + version for slightly more contrast. And a ++ version for deeper darks and less faded in the blacks.
Open Roads 4
Magenta Hues, faded + Soft. Geared for landscapes that you want to preserve warmth + magenta hues with the faded, soft look. A + version for slightly more contrast. And a ++ version for deeper darks and less faded in the blacks.
Open Roads 5 BW
Faded, Grainy, Soft, Classic BW. Nostalgic BW with a faded, soft vibe. A + version for slightly more contrast. And a ++ version for deeper darks and less faded in the blacks.
Open Roads Foliage
Small layer of warm foliage to create extra depth and softness in your photos.
How to install
*For Lightroom Classic CC (version 7.5 or later), Lightroom CC (version 1.3 or later), or Adobe Camera Raw (version 10.5 or later)
Lightroom Classic CC version 7.5 or later
1.After you have downloaded your presets DO NOT unzip the file
2.Open Lightroom and go to the Develop Module with an image
3.Click on the + icon in the Preset Panel. Select “Import Presets”
4.Navigate to the downloaded presets zip file
5.Click “Import”
Lightroom CC version 1.3 or later
1.Open Adobe Lightroom CC
2.Select File > Import Profiles and Presets
3.Select the downloaded preset folder and click ‘Import’
4.Open the photo you would like to edit, click the edit toolbar on the right-hand side of Lightroom and then you’ll find the imported preset when you select the ‘Presets’ button
Adobe Camera Raw (version 10.5 or later) for Mac
1.Make sure you’re closed out of your Photoshop application
2.Unzip the zip file that was downloaded
3.On your Desktop Finder click GO
4.Hold down the ⌥ Option key and click Library
5.Click through the following folders Application Support>Adobe>Camera Raw>Settings
6.Locate the Folders titled OPEN ROADS PRESETS
7.While holding down the ⌥ Option key drag the presets into the Settings folder you located
8.Now Launch Photoshop with a RAW image and your presets will be located in ACR under the Presets icon
Adobe Camera Raw (version 10.5 or later) for Windows (xmp files)
1.Make sure you’re closed out of your Photoshop application
2.Unzip the zip file that was downloaded
3.Go to this file location on your computer C:\Users\[User Name]\AppData\Roaming\Adobe\CameraRaw\Settings
4.Locate the folders titled OPEN ROADS PRESETS
5.Hit Ctrl+C to copy the folder
6.Go to the Settings folder you located and hit Ctrl+V to paste the folder
7.Now Launch Photoshop with a RAW image and your presets will be located in ACR under the Presets icon
Please see the full list of alternative group-buy courses available here: https://lunacourse.com/shop/


