*** Proof of Product ***
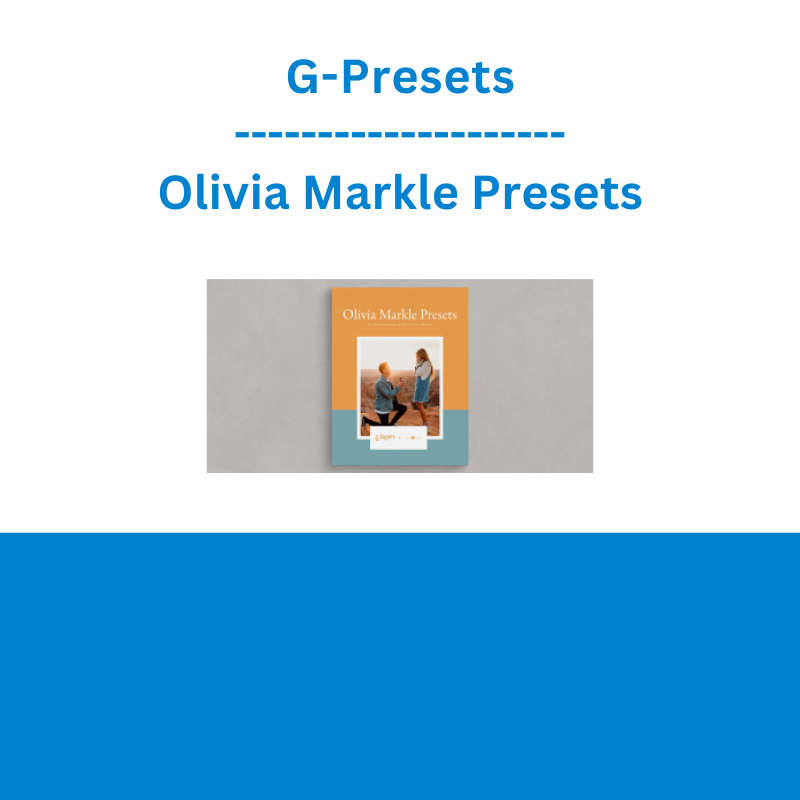
Exploring the Essential Features of “G-Presets – Olivia Markle Presets”
A COLLABORATION WITH OLIVIA MARKLE
Olivia is one of those rare photographers whose work genuinely matches her real life personality. She’s endlessly generous, daring in her adventures, brimming with enthusiasm, and will always leave you wanting a liiittle more. This strikingly unique and versatile pack from Olivia has been a labor of love years in the making. Inspired by her travels across the globe and the endless abundance of beauty she’s seen along the way, her goal with this pack had always been clear: Create a dynamic collection of presets that make photos feeel so true to the moment they were captured that you never again have to hear yourself utter the expression “pictures just don’t do it justice”.
The Olivia Markle Presets are a powerhouse of color with classic warm undertones, idyllic creamy skin tones, enriched greens, and heightened blues that breathe a fresh dimension of vibrancy into photos. Whether you’re shooting desert weddings with sharp and intense light, dense and lush tropical rainforests, or snapping those candid waterfall iPhone selfies, there’s a whole lot of pop! and jazz to love in every preset. And if by chance you find yourself wanting to tone down the vibrancy on any given image there’s a simple one-click button for reducing saturation. It’s all just so good. In fact, the only thing these presets won’t do is disappoint.
Olivia Markle Presets consists of 11 color presets, 1 BW presets, Creative Profile’s, and 3 adjustment Tools including Lens Corrections ON/OFF and a Lower Saturation Tool (please see * below for compatibility).
*These presets ONLY work with Lightroom Classic CC (version 7.5 or later), Lightroom CC (version 1.3 or later), and Adobe Camera Raw (version 10.5 or later). For earlier versions, you MUST update your editing applications to meet the required specifications.
**Purchase of this preset pack Does Not include lrtemplate files.
***Please note that these presets are created for RAW images only and are ONLY Compatible with the software versions above.
****These are Desktop Presets(NOT Mobile Presets).
What is a Creative Profile?
A Creative Profile is a custom setting that can be individually applied over an already edited image. The coolest part is that because these profiles don’t affect any of the sliders in Lightroom, you can crank their intensity up or down as you please with no consequence to your edit. Instead of using Split Toning to achieve Olivia’s Warmth we incorporated it into a profile so it can easily be faded in or out. All in, this feature is a remarkably effective tool that takes an image from Wow to Whoa in a hurry.
Olive 1
Vibrant, warm, and honest as heck. Olive 1 is true to natural color with subtle contrast and warm undertones for a full helping of fun.
Olive 2
An easy going version of Olive 1, Olive 2 brings subtle blues, greens, and yellows for a luxe creamy and smooth palette. This preset is the perfect companion for color lovers that aren’t quite ready to leave the party but don’t want to offend the host
Olive 3
Bring on the color! Bring on the grain! Bring on that dreamy film-inspired goodness! Olive 3 is an all around team player that never disappoints.
Olive 4
Bright, brilliant, and flirty. Olive 4 flaunts greener tonality while brightening photos for an effect of full spectrum swoon.
Olive 5
“You look great! No, you look great! No, you!” That’s pretty much the feeling Olive 5 gives you. With creamy skin tones and soul warming goodness, everyone looks pretty dang great, pretty much anywhere.
Olive 6
Olive 6 is big on punchy highlights, high contrast, and signature vibrant colors. You’ll see true to life blues, greens, and yellows that create balanced and lively photos no matter where you’re shooting.
Olive 7
Another awesome preset for dreamy skin, Olive 7 has warm undertones and balanced highlights while remaining true to color.
Olive 8
A little less vibrancy and a little less punch, but olive 8 still offers ample pop! while keeping all your greens, blues, and yellows in harmony.
Olive 9
A stunner of the pack, Olive 9 has ultra high contrast with stark whites that look absolutely gorgeous on backlit images with a slight haze.
Olive 10 Indoor
Olive 10 is the perfect indoor preset for creating a vibrant but gorgeous indoor feel. It mutes yellows and mellows harsh tonality often found in stale indoor lighting. You’re welcome.
Olive 11 Indoor
A moody sibling of Olive 10, this preset has more dominant matte blacks for a big tonal attitude.
Olive 12 BW
Olive 12 BW is an unstoppable dreamboat of romantic vibes sailing across a sea of creamy dense blacks and crisp satin whites. ‘Nuff said.
How to install
*For Lightroom Classic CC (version 7.5 or later), Lightroom CC (version 1.3 or later), or Adobe Camera Raw (version 10.5 or later)
Lightroom Classic CC version 7.5 or later
1.After you have downloaded your presets DO NOT unzip the file
2.Open Lightroom and go to the Develop Module with an image
3.Click on the + icon in the Preset Panel. Select “Import Presets”
4.Navigate to the downloaded presets zip file
5.Click “Import”
Lightroom CC version 1.3 or later
1.Open Adobe Lightroom CC
2.Select File > Import Profiles and Presets
3.Select the downloaded preset folder and click ‘Import’
4.Open the photo you would like to edit, click the edit toolbar on the right-hand side of Lightroom and then you’ll find the imported preset when you select the ‘Presets’ button
Adobe Camera Raw (version 10.5 or later) for Mac
1.Make sure you’re closed out of your Photoshop application
2.Unzip the zip file that was downloaded
3.On your Desktop Finder click GO
4.Hold down the ⌥ Option key and click Library
5.Click through the following folders Application Support>Adobe>Camera Raw>Settings
6.Locate the Folder titled OLIVIA MARKLE PRESETS
7.While holding down the ⌥ Option key drag the presets into the Settings folder you located
8.Now Launch Photoshop with a RAW image and your presets will be located in ACR under the Presets icon
Adobe Camera Raw (version 10.5 or later) for Windows (xmp files)
1.Make sure you’re closed out of your Photoshop application
2.Unzip the zip file that was downloaded
3.Go to this file location on your computer C:\Users\[User Name]\AppData\Roaming\Adobe\CameraRaw\Settings
4.Locate the folder titled OLIVIA MARKLE PRESETS
5.Hit Ctrl+C to copy the folder
6.Go to the Settings folder you located and hit Ctrl+V to paste the folder
7.Now Launch Photoshop with a RAW image and your presets will be located in ACR under the Presets icon
Please see the full list of alternative group-buy courses available here: https://lunacourse.com/shop/


