*** Proof of Product ***
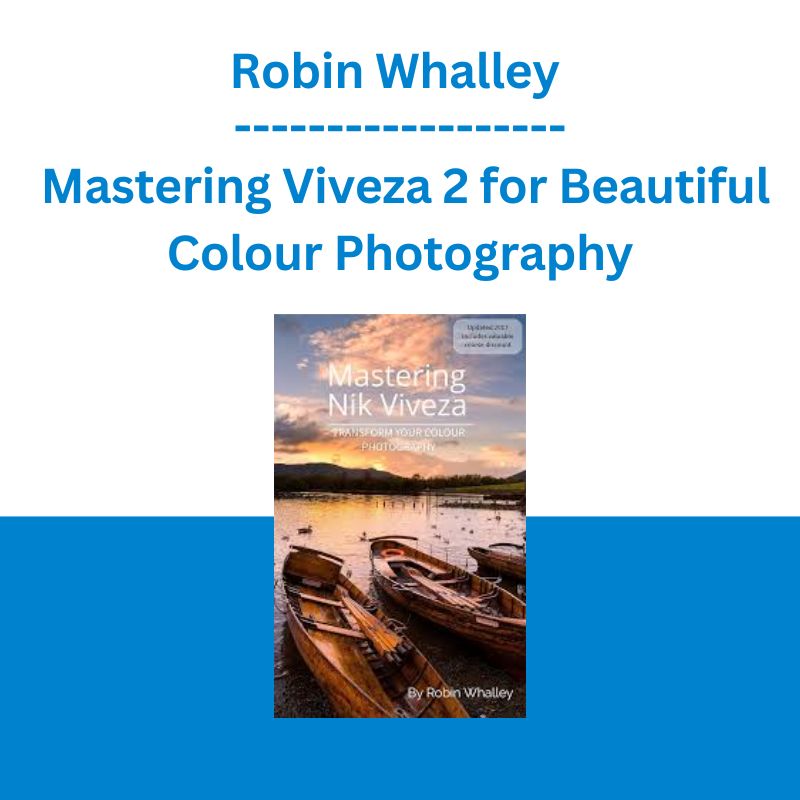
Exploring the Essential Features of “Robin Whalley – Mastering Viveza 2 for Beautiful Colour Photography”
This course covers Viveza 2 which is part of the Nik Collection 3 and earlier.
Have you experienced the frustration of editing an image but it just won’t look like you want it to? You can see the finished photo clearly in your mind’s eye, but your editing skills just let you down. I too had this problem. I would spend hours working in Photoshop and although I was pretty good, it took me a long time to finish an image. Then I discovered the Nik Collection of tools and Viveza in particular.
A few years back, the Nik Collection cost hundreds of dollars/pounds and was the default choice for many professional photographers. Why? Because these tools allow you to produce exceptional image results in minutes rather than hours. Then Google bought Nik Software and in March 2016 the tools were released for free. Now in 2020, DxO owns and publishes the Nik Collection. But despite all these versions, Viveza remains largely unchanged. And this course applies to all the versions.
This course provides you with hard won experience and advice about how to get the most out of Viveza. The course is designed to take the beginner and intermediate user through to the advanced level.
You will quickly master all the elements of the interface allowing you to work efficiently with photographs. We will cover all the adjustment tools as well as how to use the powerful Control Point technology, to target adjustments on precise areas of your photography. Everything you need to know to transform your photography will be fully explained and demonstrated. The course concludes with four full worked examples for which the starting image files are provided. You can also download the finished images to compare these with your own work.
If you want to quickly achieve professional results with your photography, this course will help take you there.
Valuable course discount available in Mastering Nik Viveza book
Course Curriculum
Introducing Viveza
- Introduction to Viveza
- Downloading and Installing Viveza (1:56)
- Launching Viveza from Lightroom (6:03)
- Launching Viveza from Photoshop (4:44)
- Introduction to Viveza – Section Conlusion
A First Example
- Section Introduction & Files
- First Example Introduction (2:01)
- First Example Global Adjustments (3:53)
- First Example Selective Adjustments (2:43)
- First Example Finished Image
The Viveza Interface
- The Viveza Interface (1:25)
- The Viveza Interface – Views Region 1a (2:52)
- The Viveza Interface – Views Region 1b (3:20)
- The Viveza Interface – Regions 2 and 3 (3:15)
- The Viveza Interface – Regions 4 (4:58)
- The Viveza Interface Conclusion
The Viveza Adjustments
- The Viveza Adjustments – Section Introduction
- Viveza Adjustments – The Adjustment Controls (2:17)
- Viveza Adjustments – Tonal Controls (7:53)
- Viveza Adjustments – Colour Controls (4:21)
- Viveza Adjustments – Levels and Curves (7:09)
- The Viveza Adjustments – Section Conclusion
Applying Selective Adjustments
- Applying Selective Adjustments – Section Introduction
- Applying Selective Adjustments – Working with Control Points (5:44)
- Applying Selective Adjustments – Understanding Masks (5:20)
- Applying Selective Adjustments – Working with Control Point Groups (4:09)
- Applying Selective Adjustments – Working with Layers (3:46)
- Applying Selective Adjustments – Section Conclusion
Worked Examples
- Viveza Worked Examples – Section Introduction
- Viveza Worked Example One (8:41)
- Viveza Worked Example Two (7:55)
- Viveza Worked Example Three (8:50)
- Viveza Worked Example Four (8:12)
- Viveza Worked Example Four b (8:48)
- Viveza Course Conclusion
Please see the full list of alternative group-buy courses available here: https://lunacourse.com/shop/


 Team NFT Money - Ultimate NFT Playbook
  Emanuele Bonanni - My Trading Way
  Akil Stokes & Jason Graystone - TierOneTrading - Trading Edge 2019
  Ed Ponsi - Forex Trading
  Racing Workshop - Complete Online Package
  Matan Feldman - The 13-Week Cash Flow Modeling - Wall Street Prep
  Crypto Dan - The Crypto Investing Blueprint To Financial Freedom By 2025
  George Fontanills & Tom Gentile - Optionetics 6 DVD Series Home Study Course (Digital Download)
  Fred Haug - Virtual Wholesaling Simplified
  David Dill - Affiliate Equation
  Nilofer Safdar - Outcreation 101
  Julie Stoian & Cathy Olson - Launch Gorgeous - Funnel Gorgeous Bundle
  Blake Rudis - Color Theory for Photographers
  Edward Cheng, Molly Bishop Shadel, Peter Smith & Joseph Hoffmann - Law School for Everyone
  Jesse Livermore Trading System - Joe Marwood
  Mark Lassoff - Android Development for Beginners
  Matthew Kratter - Trader University
  Dividend Policy: Theory and Practice - George Frankfurter, Bob Wood & James Wansley
  Forexmentor - Recurring Forex Patterns
  Money Miracle - George Angell - Use Other Peoples Money To Make You Rich
  Sovereign Man Confidential - Renunciation Video
  Dave Landry - Stock Selection Course
  Mark Lassoff - HTML5 Authoring 2019
  Erik Banks - Alternative Risk Transfer
  Nilofer Safdar - Black Friday Alchemy Bundle
  Greg Loehr - Advanced Option Trading With Broken Wing Butterflies
  James O'Dea - The Cultivating Peace Method - The Shift Network